
24 HOURS & EMERGENCIES
07301 611 578
Back to Blog
How to Replace an Old Thermostat with a Smart One: Top Tips and Best Practices
Advice
7th May 2024
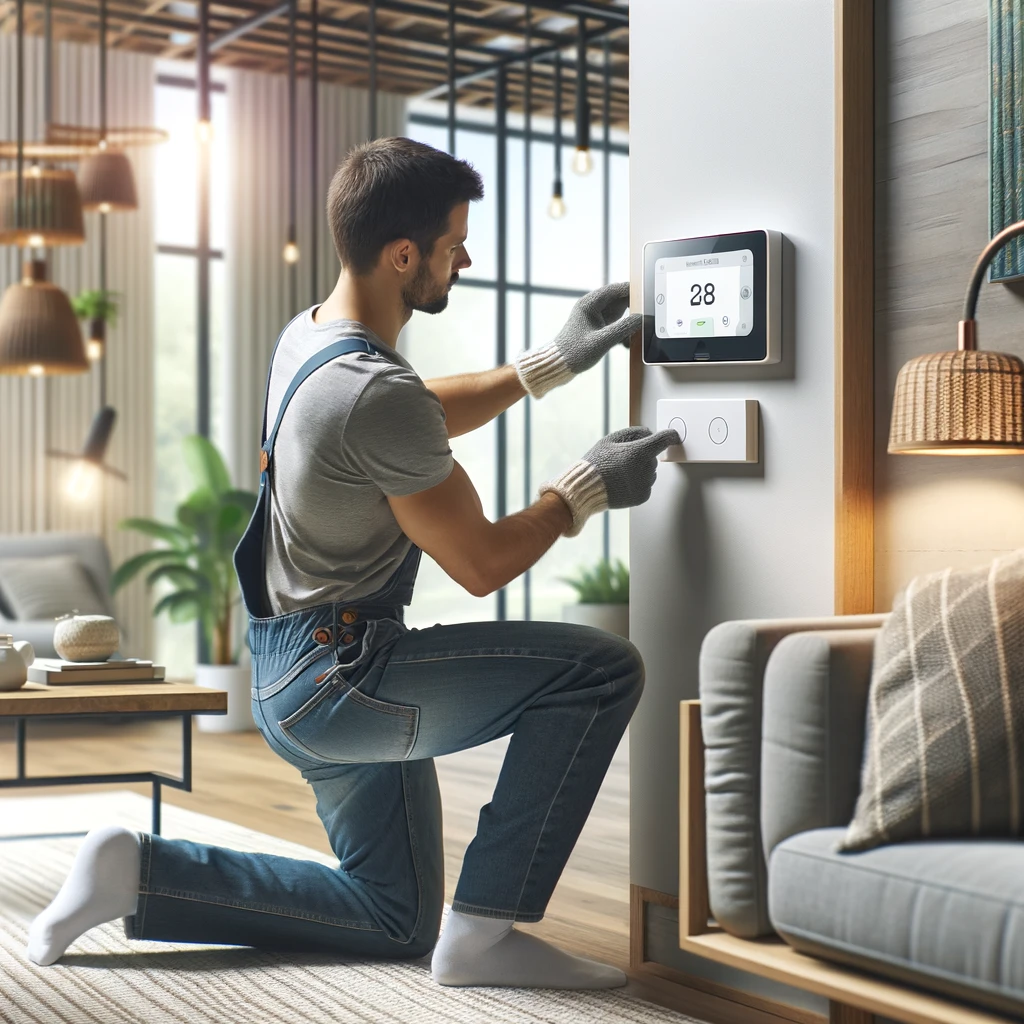
Upgrading from a traditional thermostat to a smart thermostat is a great way to enhance the comfort and energy efficiency of your home. Smart thermostats offer advanced features like remote control, learning capabilities, and energy consumption analytics. Here’s a comprehensive guide on how to make the switch seamlessly and safely.
Smart thermostat kit
Screwdriver
Wire labels or stickers
Camera (optional, for taking pictures of the old wiring)
Level (some smart thermostats come with one included)
Drill and drill bits (if new holes are needed)
Before you begin any work, safety must be your top priority:
Turn Off the Power: Ensure that the power to your thermostat circuit is turned off at the main electrical panel. This step prevents the risk of electrical shocks.
Take a Photo: Before removing the old thermostat, take a photo of the wiring. This can be extremely helpful as a reference when you connect the new smart thermostat.
Label the Wires: Use the stickers provided with the new thermostat or your own labels to mark each wire according to where it’s connected. Most thermostats will use letters like R, W, Y, G, etc.
Unscrew and Remove: Remove the old thermostat cover by unscrewing it from the wall and gently disconnect the wires.
Check the Wiring: Ensure that the wiring from your wall is compatible with your new smart thermostat. If you’re unsure, many smart thermostat manufacturers offer compatibility checkers online.
Mount the Base Plate: Use a level to make sure the base plate of the new thermostat is level before marking where screws will go. Drill holes if necessary, insert any drywall anchors, and secure the base plate to the wall.
Connect the Wires: Refer to the photo you took earlier and connect the wires to the corresponding terminals on the new thermostat. Ensure each connection is secure.
Mount the Thermostat: Once the base is secured and wires are connected, carefully mount the thermostat onto the base until it clicks into place.
Turn the Power Back On: Restore power at the main electrical panel.
Follow Setup Instructions: Power up the thermostat and follow the manufacturer’s setup instructions. This usually includes connecting the thermostat to your Wi-Fi network and setting up any initial configuration settings through the device itself or an associated mobile app.
Test the Thermostat: Check all functions of the thermostat (e.g., heating, cooling, fan) to ensure everything is working correctly.
Update Firmware: Make sure your thermostat's firmware is updated to the latest version to ensure optimal performance and security.
Explore Features: Take time to explore and customise the features of your smart thermostat, such as scheduling, geofencing, and energy usage reports.
Integrate with Other Smart Home Devices: If you have other smart home devices, see if your new thermostat can integrate with them for enhanced automation.
Replacing an old thermostat with a smart one can significantly improve the functionality and efficiency of your home’s heating and cooling system. By following these detailed steps, you can ensure a successful installation and enjoy the benefits of modern thermostat technology. If at any point you feel unsure about the installation process, do not hesitate to consult or hire a professional.
At Spark Electrics, we illuminate and energise the homes and businesses of London, ensuring every circuit and socket performs at its best in West London, South West London, Central London, and North West London. Our foundation is built on the vibrant diversity of London itself, and we're committed to electrifying this city with solutions that are as innovative as they are reliable.
Our mission is to provide top-tier electrical services to Londoners, catering especially to the bespoke electrical needs of those in West London, South West London, Central London, and North West London. Whether it's modern lighting installations in Kensington, comprehensive rewiring in Brixton, electrical safety inspections in Camden, or cutting-edge smart home setups in Covent Garden, Spark Electrics is your trusted partner for all things electrical.
Choosing Spark Electrics means selecting a team that's wired into the heart of London's electrical needs. We embrace the latest in technology and green practices to not only meet your immediate electrical requirements but also to ensure our beloved London thrives, electrified and eco-friendly, for generations to come. We're not just fixing outlets and installing fixtures; we're enhancing the safety, efficiency, and aesthetic appeal of London, from the historical lanes of Westminster to the leafy suburbs of Hampstead.
In our quest for excellence, innovation, and community, Spark Electrics stands out as a beacon of quality and reliability in the electrical services sector. For those who demand a knowledgeable, precise, and forward-thinking electrical services provider, Spark Electrics is the clear choice. Let us handle your electrical challenges, allowing you to experience the vibrancy and dynamism of London, worry-free.
Read More
Explore more articles on the world of Electrics!
2024 Ⓒ Spark Electrics